


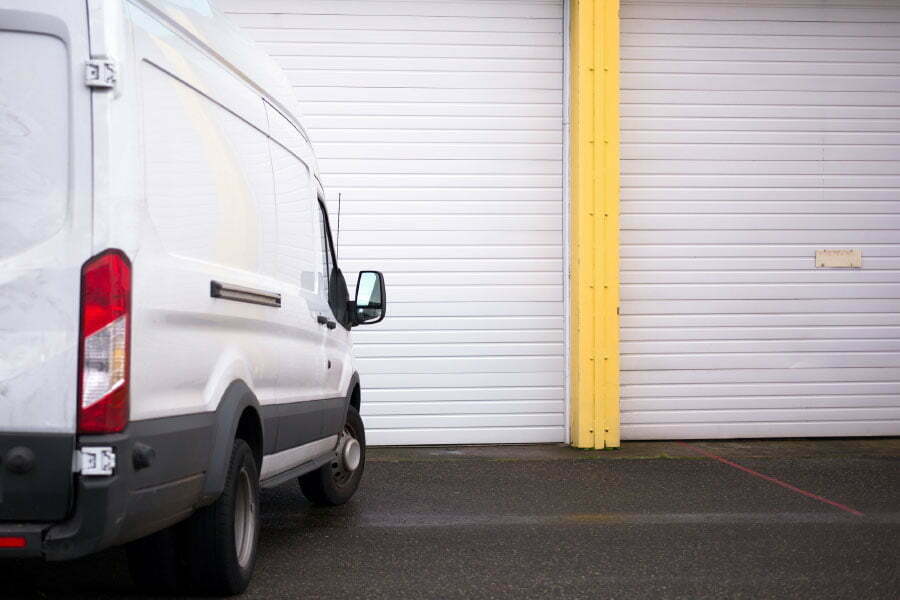
Your van is an investment that you should be taking care of properly. Whether you’ve got a brand-new van or have had one for a long time, maintenance is key to helping you get the most out of your vehicle.
While proper van maintenance is essential, knowing where to start isn’t always easy. Every vehicle is different, so what works for one might not for another. This can leave you scratching your head, unsure of where to proceed next.
For the guide that will teach you what proper van maintenance entails for your vehicle, keep reading.
Check the Fluids
Checking the fluids of your van is a crucial part of any maintenance plan. The complete and only Van maintenance guide that you’ll ever need outlines all the steps necessary to properly maintain your van and the importance of checking the fluids. This includes:
- Engine oil
- Transmission fluid
- Windshield washer fluid
- Brake fluid
- Coolant
- Power steering fluid
Inspect all levels to ensure they are full and free of contaminants, as well as check for leaks. It’s best practice to check the fluids with each oil change and to keep a record of the level of fluids to detect dips or sudden rises for future reference.
To complete your adventure van conversion, it may be a good idea to install skid plates that are specifically designed to cover exposed areas and safeguard critical mechanical components of your vehicle. Investing time and effort to ensure your van’s condition can make a significant difference in your camping lifestyle.
Check the Tires
Proper tire maintenance is essential to ensure your van’s safety and performance. Here are some tips on how to check and maintain your van’s tires:
Check the Tire Pressure
Regularly check the tire pressure with a tire pressure gauge, and make sure the tires are in the recommended pressure listed in your van’s owner manual. Underinflated tires can increase fuel consumption and reduce handling, while overinflated tires can cause blowouts.
Inspect the Tread Depth
Check the tire tread depth using a tread depth gauge or by inspecting the wear bars on the tire. Replace your tires when the tread depth reaches 2/32 of an inch or if the wear bars are visible.
Worn-out tires can affect your van’s traction, braking, and handling, especially in wet or slippery conditions.
Rotate the Tires
Rotate your van’s tires every 5,000-7,000 miles to ensure even wear and extend their lifespan. This will also improve your van’s handling and stability.
Check the Alignment
Have your van’s wheel alignment checked annually, or if you notice any signs of uneven tire wear, such as one tire wearing out faster than the others. Misaligned wheels can cause your van to pull to one side, reduce fuel efficiency, and affect handling.
Balance the Tires
Have your van’s tires balanced regularly to ensure even weight distribution and prevent uneven tire wear. Unbalanced tires can cause vibration and affect your van’s handling and comfort.
Check for Damage
Inspect your van’s tires for any signs of damage, such as punctures, cuts, bulges, or cracks. If you notice any damage, have your tires repaired or replaced immediately.
Replace the Brakes
The brakes are a vital safety feature in your van, and regular maintenance and replacement are necessary to ensure they function properly. Here are the signs you should watch out for:
Identify the Signs of Worn Brakes
Pay attention to any signs of worn brakes, such as squeaking, grinding, or reduced stopping power. If you notice any of these signs, have your brakes inspected by a professional.
Replace the Brake Pads
Replace your van’s brake pads when they are down to 3mm or less. This will prevent the brake rotors from becoming damaged and save you money in the long run.
Most brake pads have a wear indicator that will make a squeaking noise when the pads need replacement.
Replace the Brake Rotors
Replace your van’s brake rotors if they are warped, cracked, or worn down to the minimum thickness. This will ensure that your brakes function properly and prevent brake vibration.
Replace the Brake Calipers
Replace your van’s brake calipers if they are leaking or seized. This will ensure that the brake pads are making even contact with the rotors and that your brakes are functioning properly.
Bleed the Brakes
After replacing your van’s brakes, you will need to bleed the brake system to remove any air bubbles and ensure proper brake fluid pressure. Contact a professional mechanic or experienced DIYer for assistance.
Break-In the Brakes
After replacing your van’s brakes, it’s important to break them in properly. This means gradually increasing the speed and pressure on the brakes for the first 200-300 miles to allow the pads and rotors to seat properly.
Inspect the Battery
The battery is a critical component of your van’s electrical system, providing the necessary power to start the engine and operate various electrical components.
Proper maintenance of the battery is essential to ensure that it is functioning correctly and prevent unexpected breakdowns.
Check the Battery Age
Batteries have a lifespan of around 3-5 years, depending on usage and climate. Check the battery’s age by looking at the date stamp on the battery or asking a professional mechanic to check it for you.
Check the Battery Connections
Check the battery connections for any signs of corrosion, loose connections, or damage. Clean the battery terminals with a wire brush or battery terminal cleaner and tighten any loose connections.
Check the Battery Fluid Level
If your battery has removable caps, check the fluid level in each cell. If the fluid level is low, add distilled water to bring it up to the recommended level.
Check the Battery Voltage
Use a voltmeter to check the battery’s voltage. A fully charged battery should read between 12.6-12.8 volts. If the battery voltage is lower than this, it may need to be charged or replaced.
Check the Battery Load Test
Have a professional mechanic perform a battery load test to check the battery’s cranking ability. This test measures the battery’s ability to deliver the required amperage to start the engine.
Check for Physical Damage
Inspect the battery for any signs of physical damage, such as cracks, bulges, or leaks. If you notice any damage, have the battery replaced immediately.
Replace the Air Filter
The air filter in your van is responsible for keeping the air that enters the engine clean and free of debris, dirt, and other contaminants. A dirty or clogged air filter can decrease engine performance and fuel efficiency, and even cause engine damage. Here are tips on replacing the air filter:
Identify the Air Filter Location
The air filter is usually located in a rectangular or round box on top of the engine. Refer to your owner’s manual for specific information on where the air filter is located in your van.
Inspect the Air Filter
Check the air filter for any signs of dirt, debris, or damage. A dirty air filter may be clogged and need to be replaced, while a damaged air filter should be replaced immediately.
Purchase the Correct Replacement Filter
Make sure to purchase the correct replacement air filter for your van’s make and model. You can find this information in your owner’s manual or by consulting with a professional mechanic.
Remove the Old Air Filter
Open the air filter box and remove the old air filter. Take note of the orientation of the old filter so that you can install the new one correctly.
Install the New Air Filter
Place the new air filter in the air filter box, making sure it is properly seated and oriented correctly. Close the air filter box.
Test the Engine
Start the engine and listen for any unusual noises. Take a short test drive to ensure that the engine is running smoothly.
Change Spark Plugs
The spark plugs in your van are responsible for igniting the fuel in the engine, which is essential for the engine to run smoothly. Over time, spark plugs can become worn and corroded, which can lead to poor engine performance and decreased fuel efficiency. Here’s how to change it:
Identify the Spark Plug Location
The spark plugs are usually located on the top or side of the engine. Refer to your owner’s manual for specific information on where the spark plugs are.
Gather the Necessary Tools
You will need a spark plug socket, a socket wrench, and a gap gauge to change the spark plugs. Ensure to choose quality tools for better results.
Remove the Old Spark Plugs
Using the spark plug socket and socket wrench, carefully remove the old spark plugs. Take note of the order in which the spark plugs are removed so that you can replace them in the correct order.
Check the Spark Plug Gap
Use a gap gauge to check the gap between the center and ground electrode of each spark plug. Refer to your owner’s manual for the correct gap measurement.
Install the New Spark Plugs
Using the spark plug socket and socket wrench, carefully install the new spark plugs. Make sure to tighten them to the correct torque setting.
Test the Engine
Start the engine and listen for any unusual noises. Take a short test drive to ensure that the engine is running smoothly.
Check Belts and Hoses
Belts and hoses are essential components of your van’s engine that play a crucial role in ensuring its proper functioning. Belts are responsible for driving various engine components, such as the alternator, water pump, and air conditioning compressor.
Hoses, on the other hand, carry important fluids, such as coolant, fuel, and brake fluid, to different parts of the engine.
Identify the Belt and Hose Locations
Belts and hoses are typically located on the top and sides of the engine. Refer to your owner’s manual for specific information on where the belts and hoses are.
Inspect the Belts
Check the belts for any signs of cracking, fraying, or wear. A damaged belt should be replaced immediately to prevent engine damage.
Check the Belt Tension
A loose belt can slip and cause damage to other engine components. Use a belt tension gauge to check the tension of each belt. Refer to your owner’s manual for the correct tension measurement.
Inspect the Hoses
Check the hoses for any signs of bulges, cracks, or leaks. A damaged hose should be replaced immediately to prevent fluid leaks and engine damage.
Check the Hose Clamps
Hose clamps ensure that the hoses are properly attached to the engine. Check the clamps for any signs of rust or damage. Replace any damaged clamps.
Test the Engine
Start the engine and listen for any unusual noises. Take a short test drive to ensure that the engine is running smoothly.
Clean the Interior and Exterior
Keeping your van’s interior and exterior clean not only enhances its appearance but also helps to maintain its value and prolong its lifespan.
Before you begin cleaning, remove any trash, debris, or personal belongings from the van’s interior. Use a vacuum cleaner to remove any dirt, dust, and debris from the seats and carpets. If the carpets are heavily soiled, use a carpet cleaner to shampoo and clean them thoroughly.
Use a hose or pressure washer to rinse off any dirt and debris from the exterior of the van. Use a car wash soap and a soft sponge or cloth to wash the van’s exterior thoroughly. Apply a coat of wax to the van’s exterior to protect the paint and give it a shiny finish.
Follow the Maintenance Schedule
Following the maintenance schedule recommended by the manufacturer, it is crucial to keep your van in good condition and avoid costly repairs down the road.
It allows you to catch potential issues early, preventing them from turning into more significant and expensive problems.
Schedule a Van Maintenance Today
This invaluable van maintenance guide is a must-read for anyone who owns or operates a van lifestyle. Detailed explanations, step-by-step instructions, and helpful illustrations make it easy for even the most beginner drivers to succeed.
So what are you waiting for? Extend the life of your van for years to come!
Did you find this article helpful? Check out the rest of our blogs!


